

Open workspace labels
- Go to Settings.
- Open Workspace -> Labels.
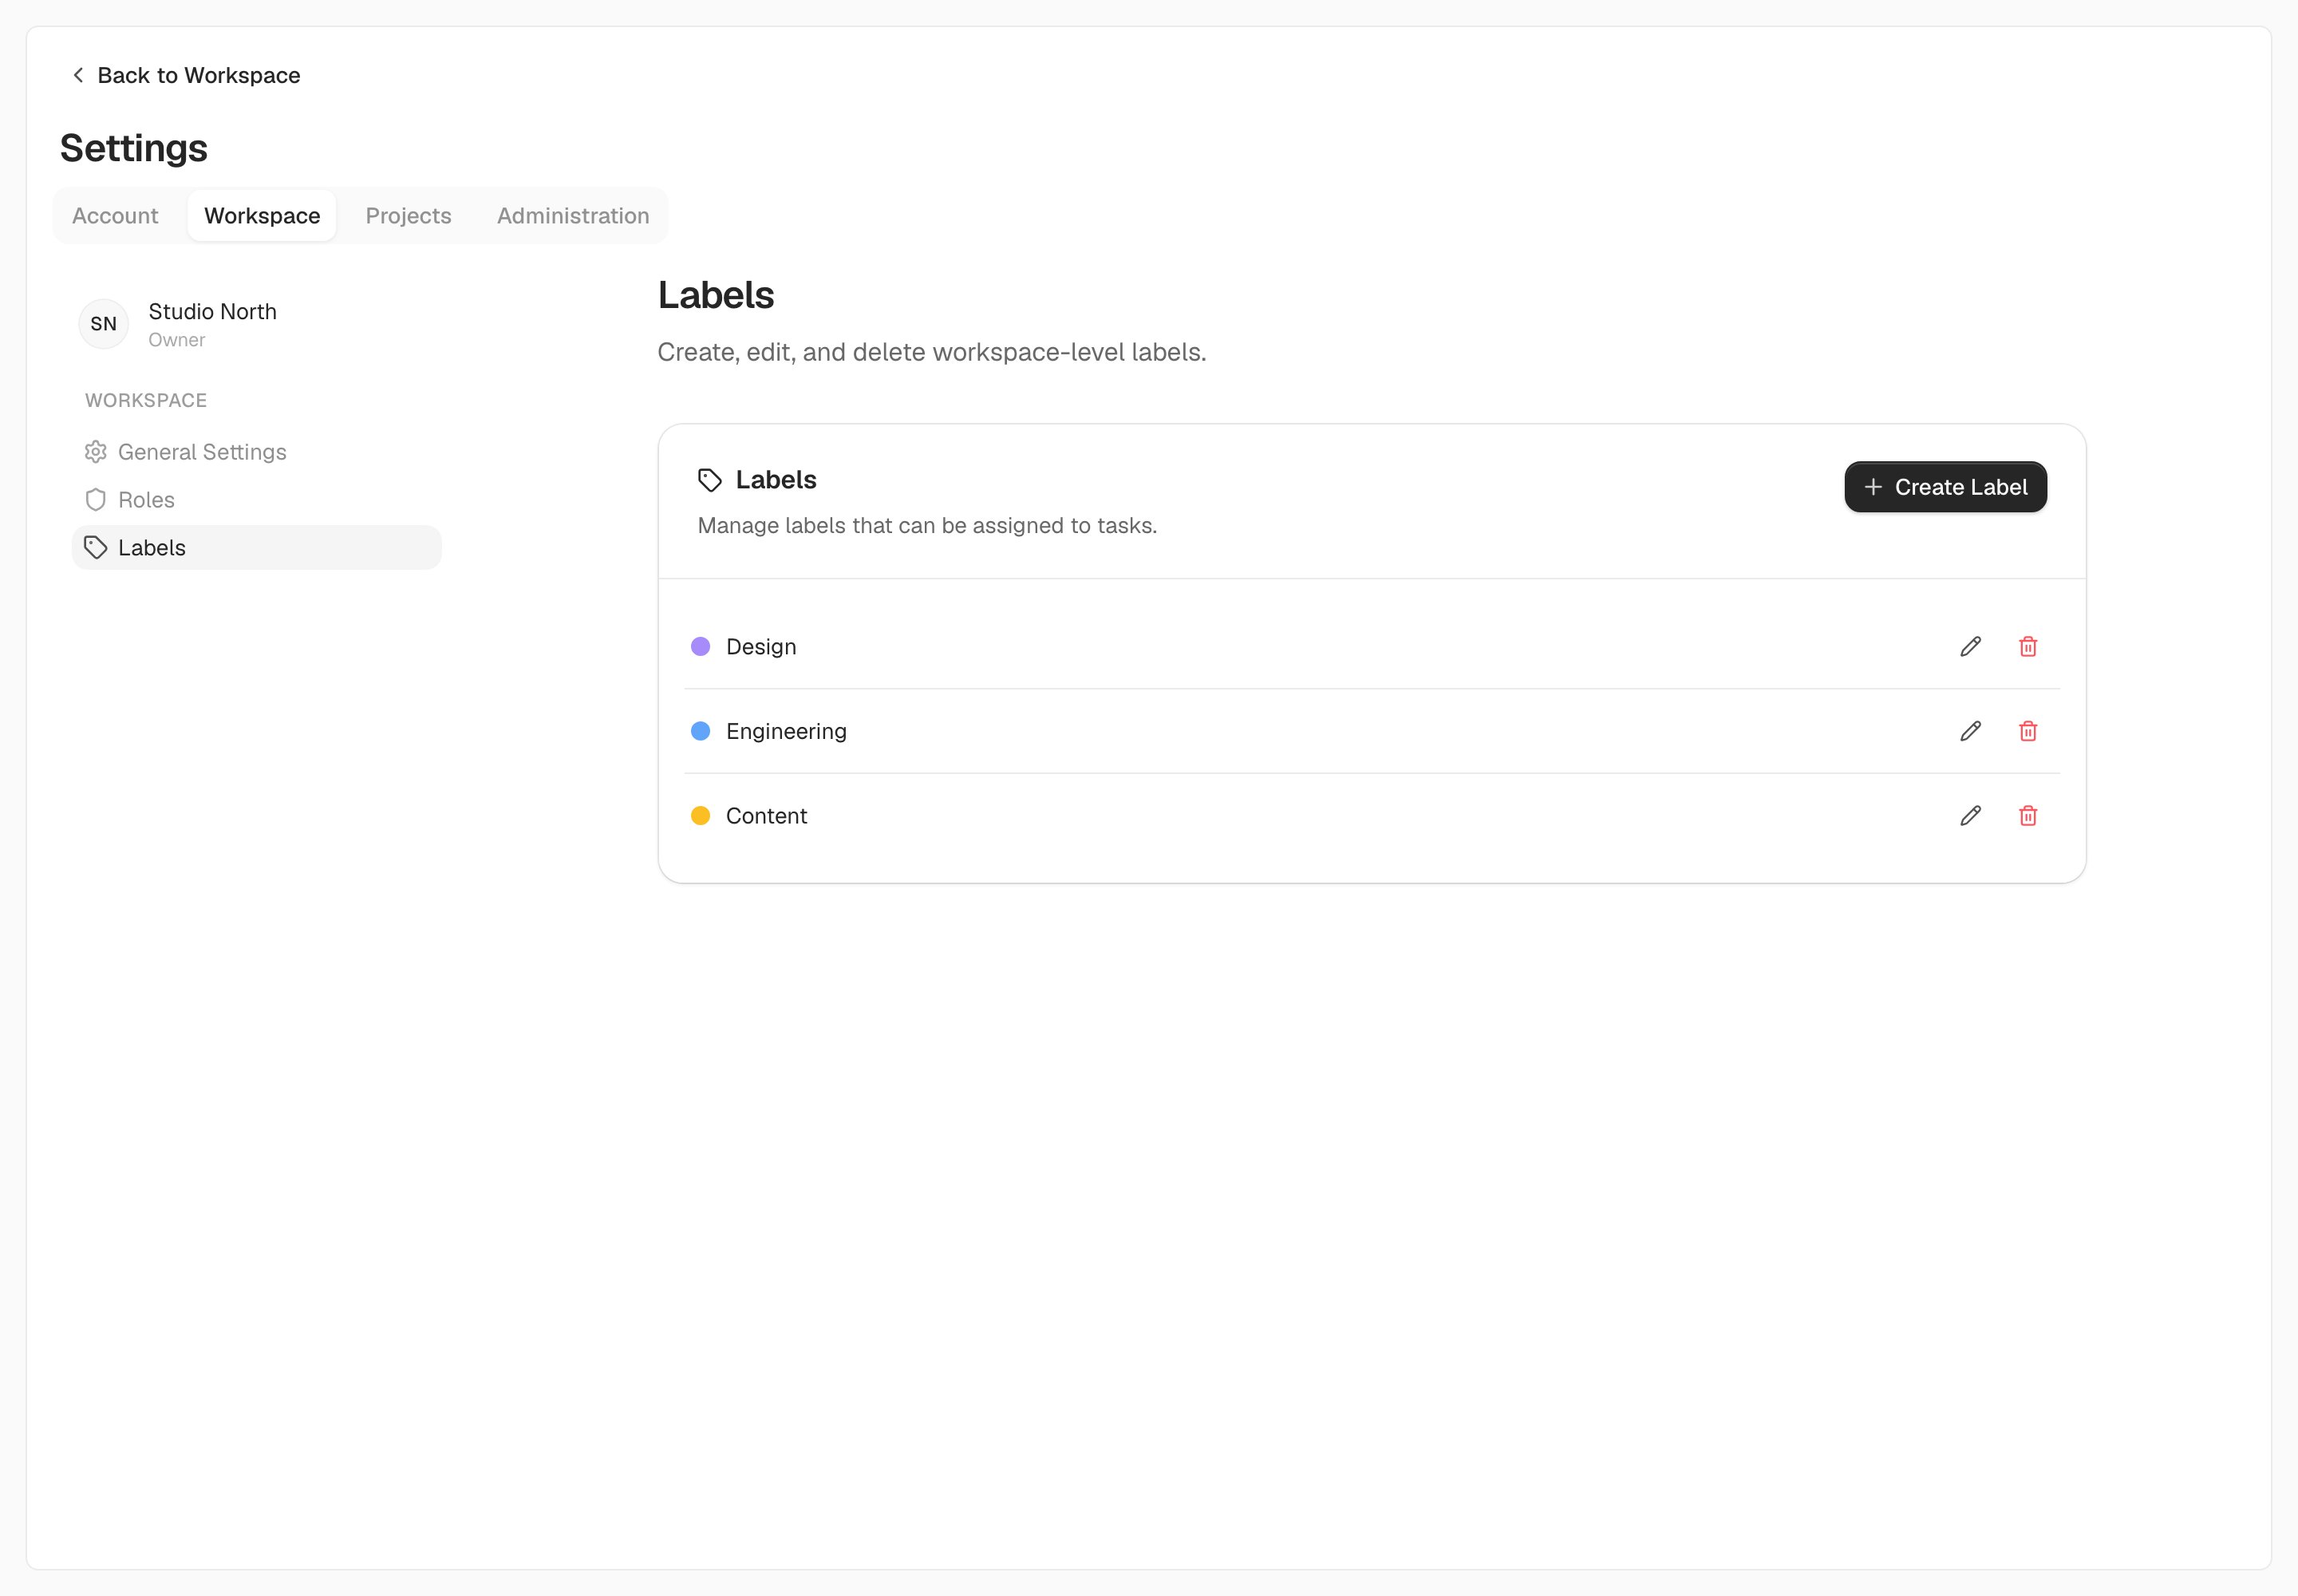
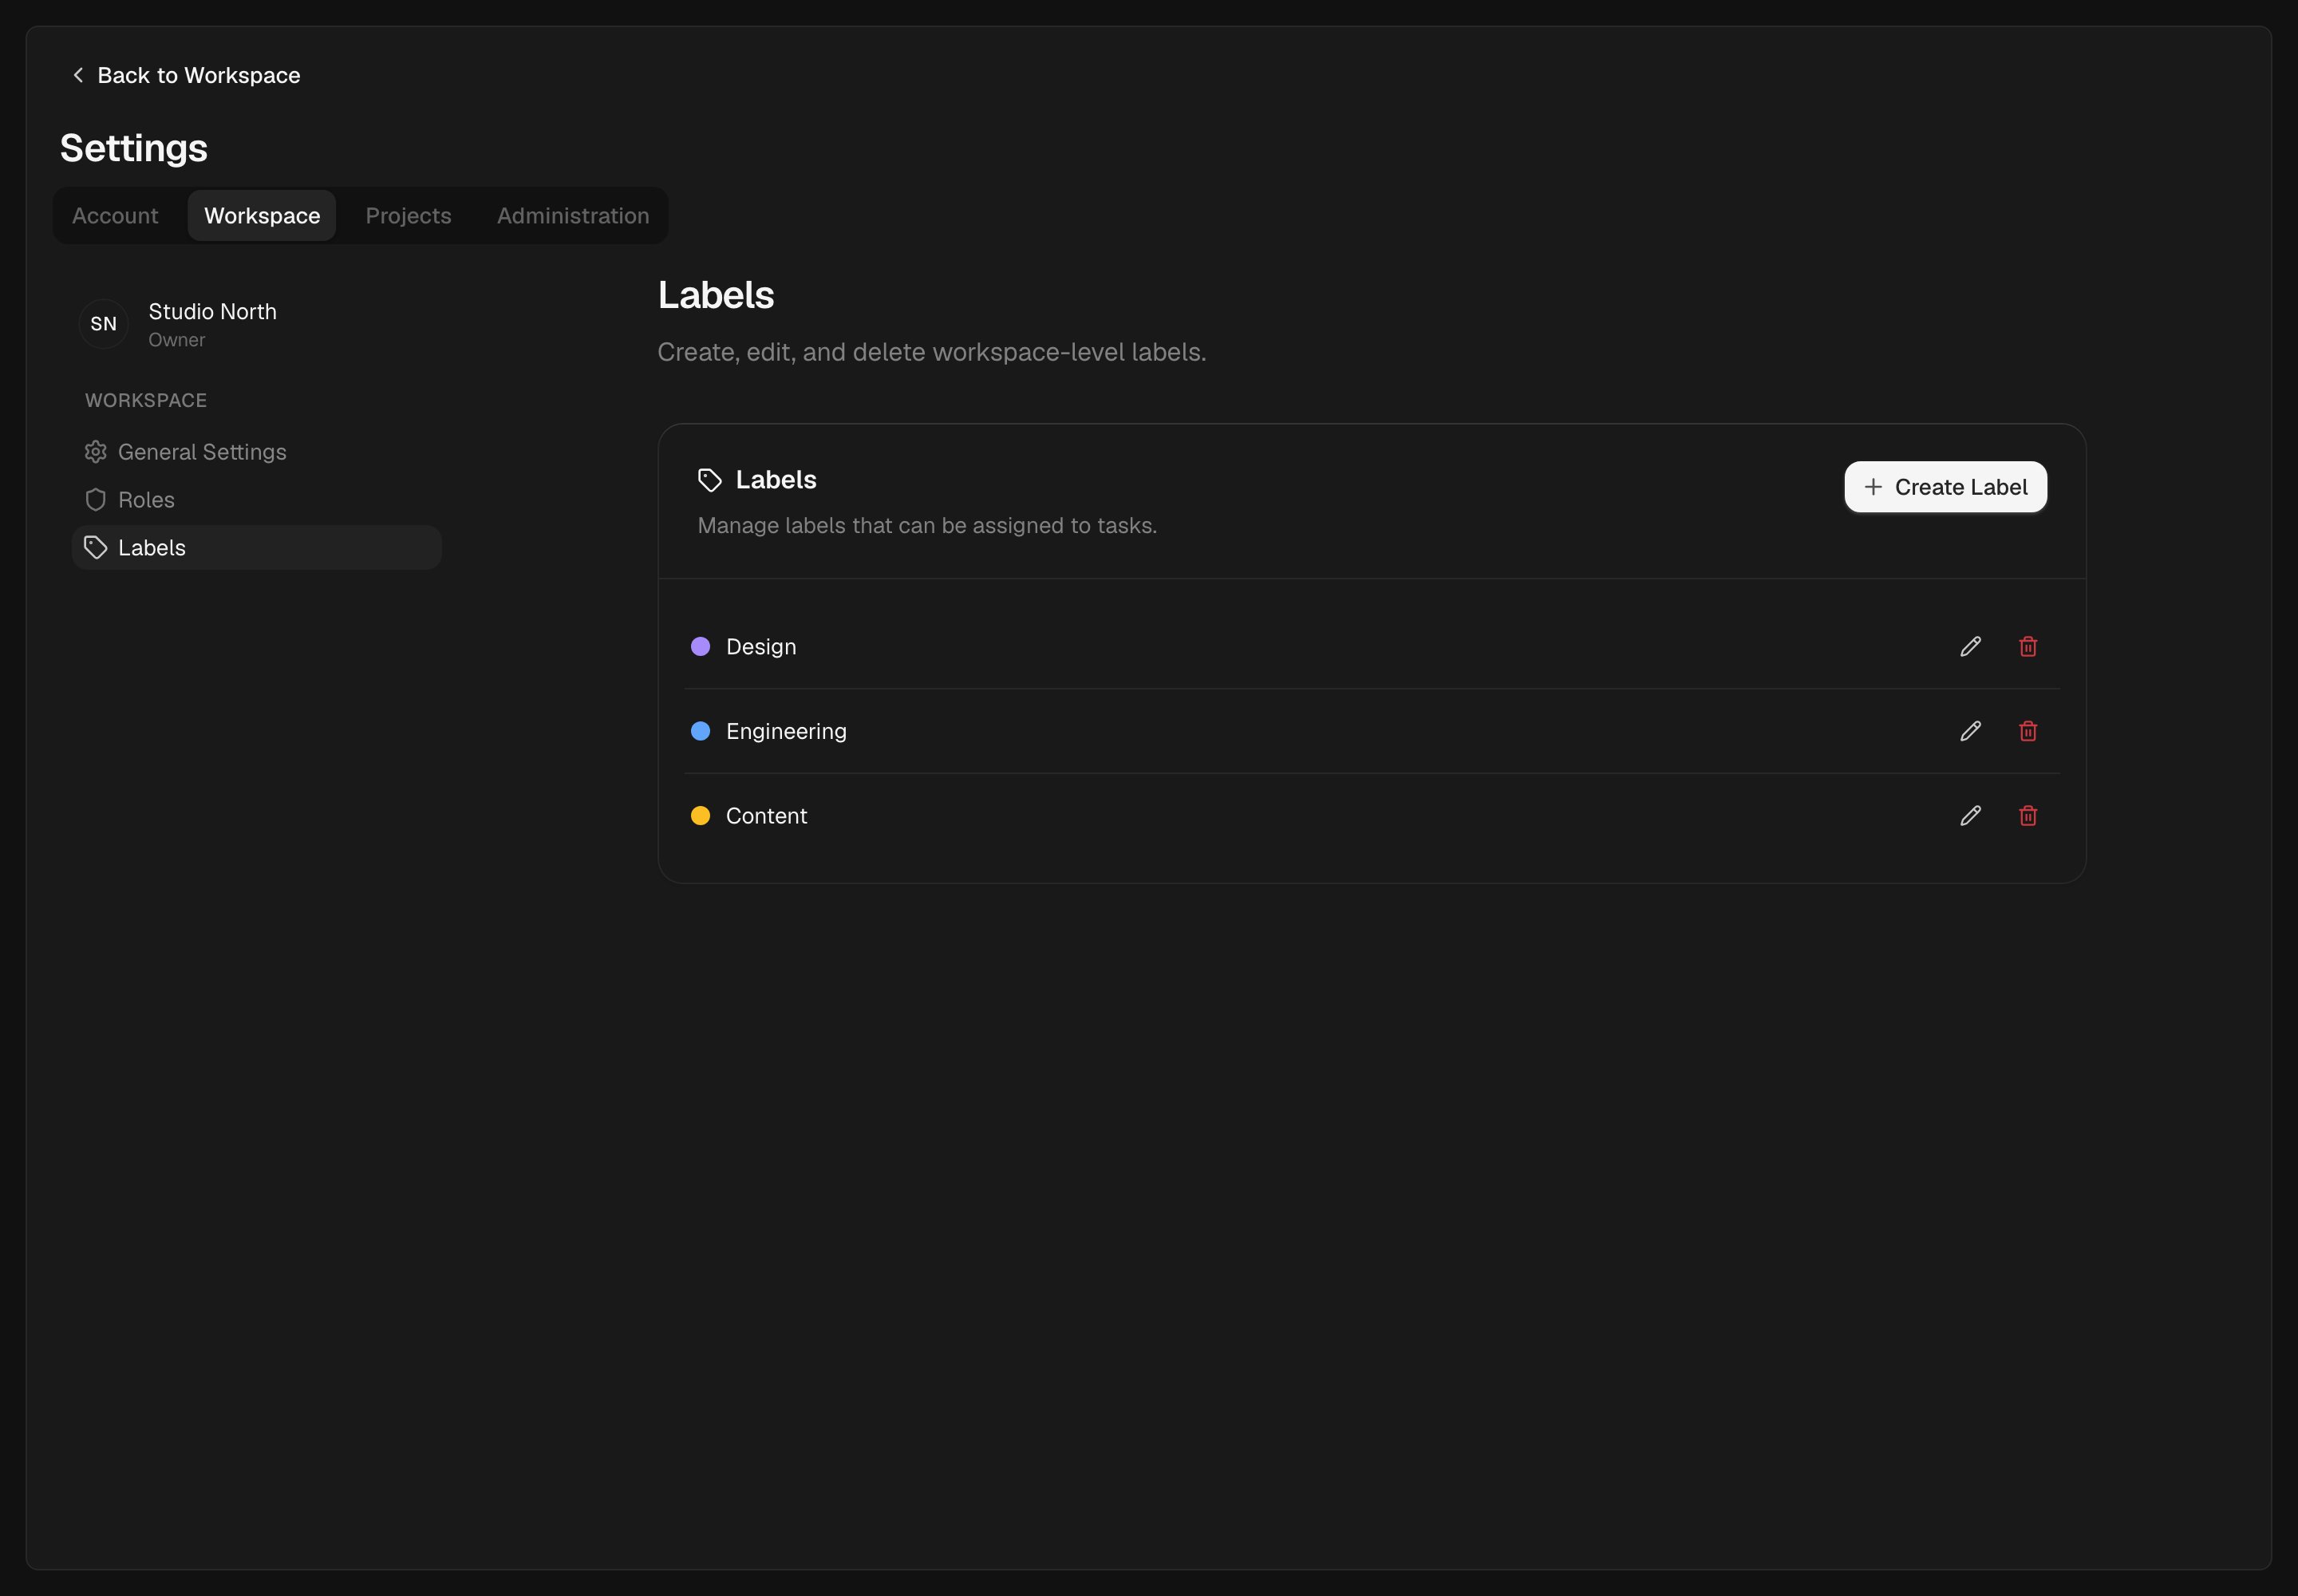
Workspace labels are managed in Settings and shared across projects.
Create a label
- Click Create Label.
- Enter a name (e.g.
bug,feature,api). - Pick a color from the 9 available options:
- Stone, Slate, Lavender, Sage, Forest, Amber, Terracotta, Rose, Crimson
- Click Create Label.
Edit a label
- Click the pencil icon next to the label you want to change.
- Update the name, color, or both.
- Click Save.
Delete a label
- Click the trash icon next to the label.
- Confirm deletion in the dialog.
Permissions
Creating, editing, and deleting labels require the corresponding Label permissions. If you don’t see the controls, ask a workspace admin to update your role.Best practices
- Use consistent naming:
bug,feature,chorefor work type;api,web,infrafor domain - Assign distinct colors to different categories so they’re easy to scan on the board
- Keep the total number of labels manageable, since too many labels dilute their usefulness